
Export vectors information from OSM, add elevation profiles with SRTM and convert to Adobe Illustrator
A friend was in the past preparing a master thesis in architecture. She is working on a foreign area and the language make the access to plans a bit more difficult than usually.
In order to help her i decided to have a look what were the possibilities to get detailed data from open sources. OpenStreetMap of course. After several google research, and different test I finally found one option that was as detailed as requested.
I did not invent it and all information are mainly coming from the website of “ulrik”. Thanks to him :
Hacking Urban Planning with OpenStreetMap and SRTM
What is interesting here is those information could be exported in other format like shape file, kmz or other nice extension for GIS software.
However what I am explaining now is certainly highly directed to people working for urban planing.
So let’s begin.
Getting Elevation data : SRTM
Hmmm let’s ask wikipedia :
The Shuttle Radar Topography Mission (SRTM) is an international research effort that obtained digital elevation models on a near-global scale from 56° S to 60° N, to generate the most complete high-resolution digital topographic database of Earth prior to the release of the ASTER GDEM in 2009. …
The elevation models derived from the SRTM data are used in Geographic Information Systems. They can be downloaded freely over the Internet, and their file format (.hgt) is supported by several software developments._
OSM created a great tool to extract incredibly easily those information : Srtm2Osm (why making it complicated…).
Then :
- Download Srtm2Osm
- Extract it
- Go in the folder where strm2osm.exe is, in the explorer
- Alt-D -> type in the adress bar “cmd” and click enter
- You should have now a command prompt with the path of where you were in the explorer
- Now you will need to run some code :
Whitout entering in detail, here the syntax to use :
Srtm2Osm.exe -bounds2 <latitude> <longitude> <area> -step <stepsize> -o output.osm
Latitude and longitude is the center of the area you wanna download, area the area in square km and stepsize in the detail you want. For example 1 will give you elevation lines every 1m.
Example :
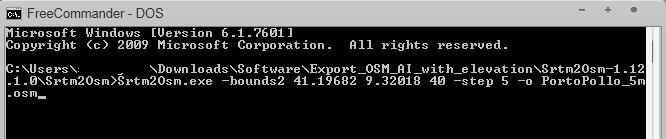
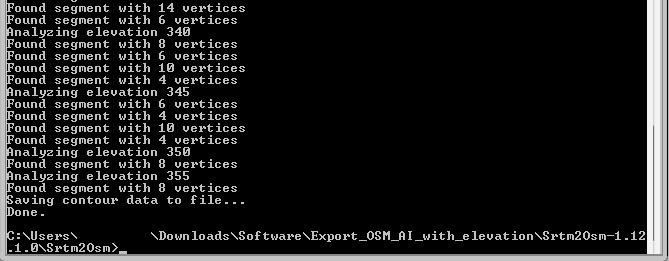
This will create a .osm file with the name specified that you will open with JOSM…
Load SRTM data in JOSM and import OSM data
An easy way to download at a small scale OSM data is with JOSM which is an extensible editor for OpenStreetMap (OSM) written in Java 7.
Download it, install it and open it.
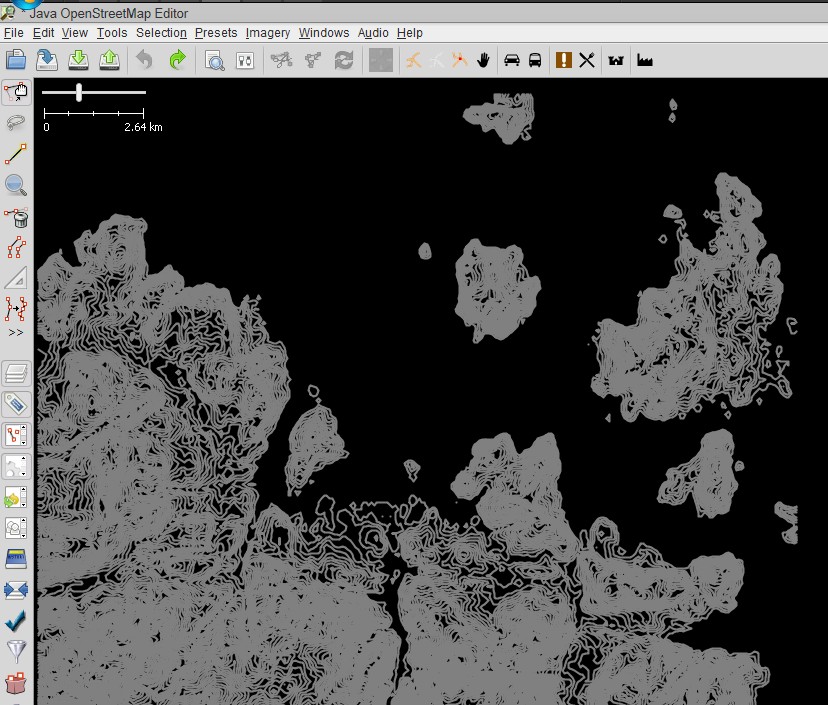
Let’s first have a look to our elevation data :
- just open the osm file created via josm
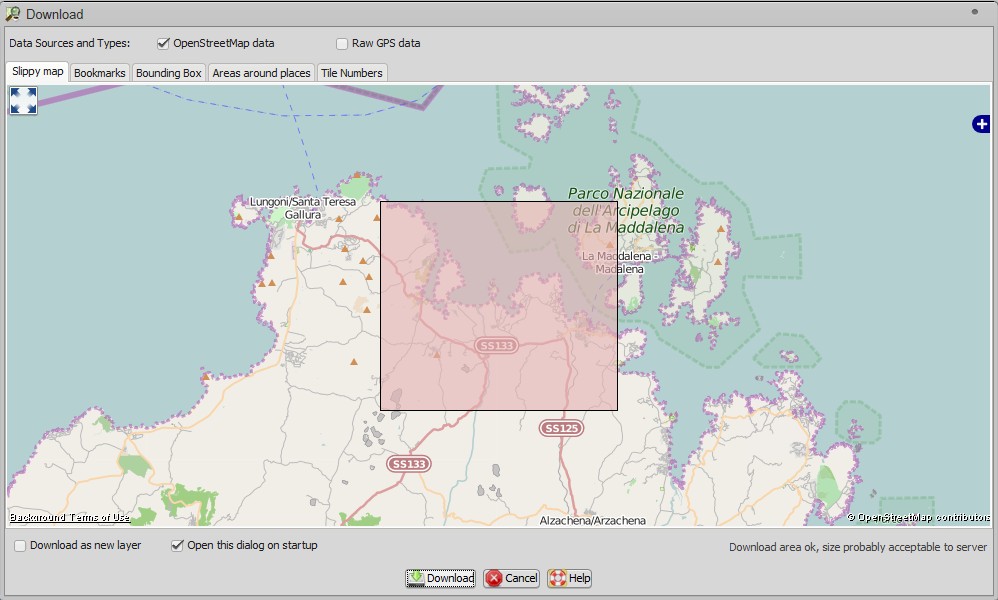
Then it is time to download the data from the area you are interested in :
- File\Download from OSM
- Choose you area
- Download
You now have 2 layers that you can merge via the merge button :
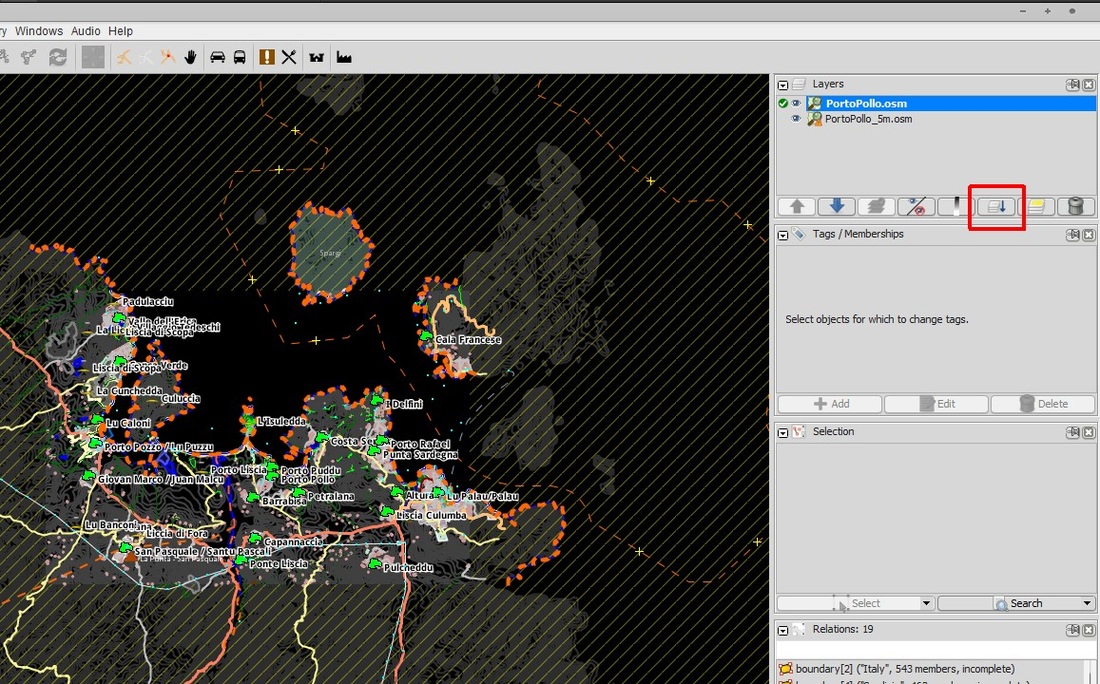
Save the project osm.
Conversion in .ai
For this part you will need Perl.
Download, install and open the command line.
You need to install a special module by running : cpan Geo::Coordinates::OSGB
Once ready you will need to download a great tool from OSM again : osm2ai.pl.
Save it where you have you .osm file.
Open a command prompt as described before where your .osm and osm2ai.pl are.
Run : **perl osm2ai.pl –input
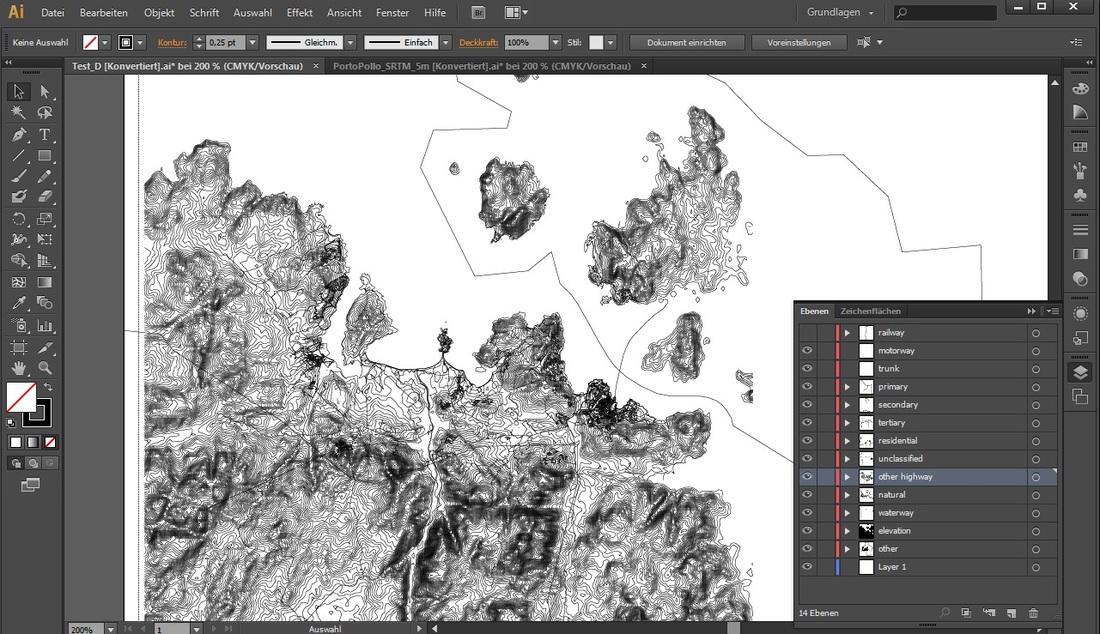
Done you have your .ai files with different layers:
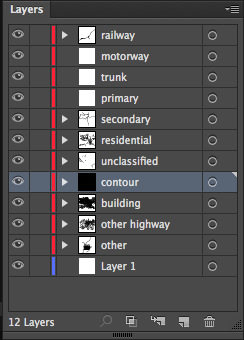
Elevation missing and not enough detailed
Mmmm you would like the elevation of course and maybe to have more divided layers.
Then first go back to JOSM. Identify the tag of the layers you are interested in :
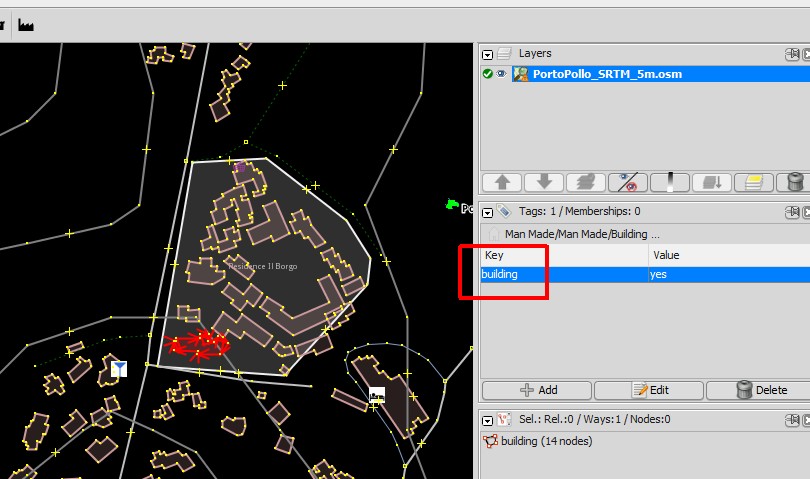
Why not building, architects are interested in buildings right ?
We will now create a .txt file that will tell the osm2ai.pl script to differentiate the entity with the tag we want.
Here the help of the script on the subject :
Options : <–filters> filename
Specifies a file containing a list of ‘filters’. These are
used to put appropriately tagged ways in the right layers.
FILTERS
Rather than just bunching everything into one layer, this
script can filter by tag. So you could put primary roads in
one layer, secondary in another, and ignore canals
completely.
Create a plain text file, and add lines like this:
motorway: highway=motorway
Means “put ways tagged with highway=motorway in a ‘motorway’
layer”.
railway: railway=*
Means “put ways with any railway tag whatsoever in a ‘railway’
layer.
other: =
Means “put anything else in an ‘other’ layer”.
The tests are carried out in the order you give them. A way
will only ever be put into one layer, even if it fulfils
two conditions.
Here an example, file available here :
railway: railway=*
motorway: highway=motorway
trunk: highway=trunk
primary: highway=primary
secondary: highway=secondary
tertiary: highway=tertiary
residential: highway=residential
unclassified: highway=unclassified
path: highway=path
track: highway=track
other highway: highway=*
coastline: natural=coastline
beach: natural=beach
scrub: natural=scrub
natural: natural=*
waterway: waterway=*
elevation: contour=*
building: building=*
Wood: wood=*
Name: name=*
other: =
Now you just have to put your .txt in the folder with your .osm data, the osm2ai.pl script, open a cmd prompt and run :same code as before with the –filter option:
**perl osm2ai.pl –input
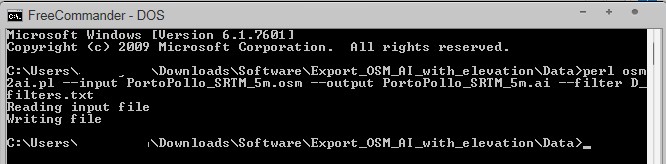
Isn’t that nice :)
Save it in .dxf and work with ArchiCad :)
Have fun.