
Create a nice ‘where is Charlie/Waldo/Wally’ poster with removing the background automatically in windows
Tools used
Procedure
- first organisation
- get some picture in a folder that will call here
root - here an overview of the picture
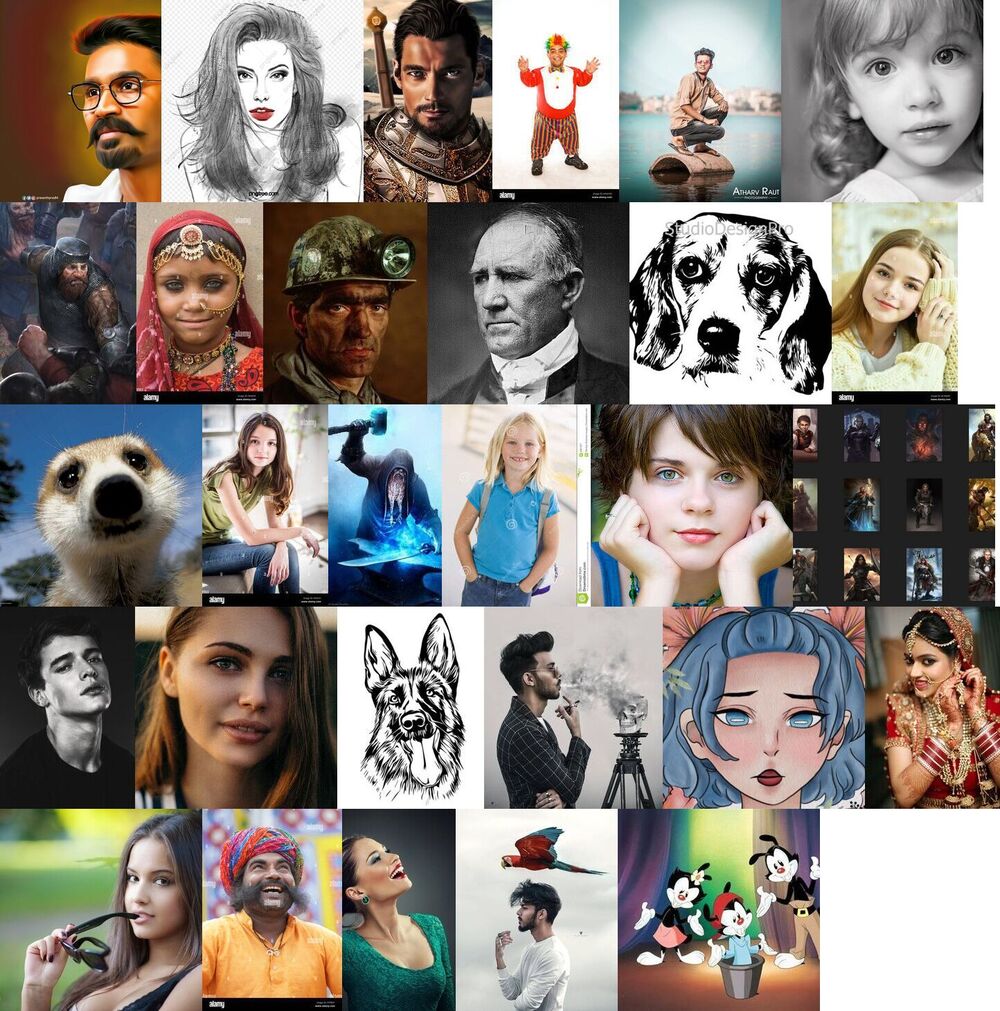
- put them in a new folder called
ori(only depending on the following code)
- get some picture in a folder that will call here
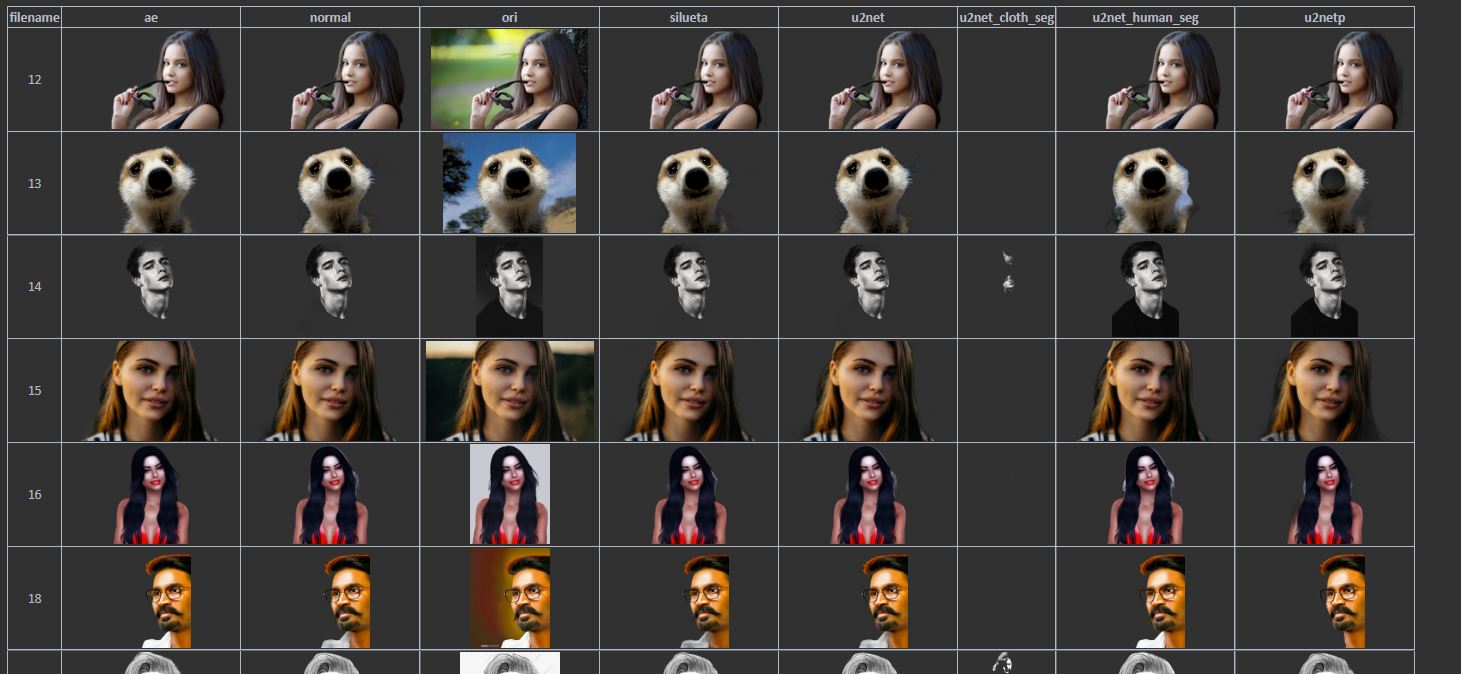
- run rembg
- via this script in the
rootfolder
- via this script in the
rembg p -m u2net_human_seg %cd%\ori %cd%\u2net_human_seg
rembg p -m u2net %cd%\ori %cd%\u2net
rembg p -m u2netp %cd%\ori %cd%\u2netp
rembg p -m u2net_cloth_seg %cd%\ori %cd%\u2net_cloth_seg
rembg p -m silueta %cd%\ori %cd%\silueta
rembg p -a -ae 15 %cd%\ori %cd%\ae
rembg p %cd%\ori %cd%\normal
- it will create a new folder per algorithm and run the rembg for each
- we will then have a tree like this:
root
├───ae
├───normal
├───ori
├───silueta
├───u2net
├───u2netp
├───u2net_human_seg
└───u2net__cloth_seg
- create Thumbnails with
mkdir Thumbnails
robocopy %cd% "Thumbnails" /MIR /xo /xf *.html *.R *.bat /xd Thumbnails
cd Thumbnails
rmdir /Q /S ori
for /r "%cd%" %%a in (*) do mogrify -resize 200 "%%~a"
- Open R
- make sure that you have the packages installed
data.tableandtableHTML - if not run in R
install.packages(c("data.table", "tableHTML")) - run in R the script below by changing your
wd - it will create a
htmllike this
- make sure that you have the packages installed
 You can open an html example here !!!!!!!!!!
# user input --------------------------------------------------------------
wd <- "C:/Users/doria/Downloads/test/"
# load packages -----------------------------------------------------------
library(data.table)
library(tableHTML)
# Data manipulation -------------------------------------------------------
data <- data.table(path=list.files(paste0(wd, "/Thumbnails"), recursive = T, full.names = T))
data[, ext := substr(path, nchar(path) -3, nchar(path))]
data[,.N, ext]
data <- data[ext %like% "jpg|png"]
data[, what := basename(dirname(path))]
data[, filename := substr(basename(path), 1, nchar(basename(path)) -4)]
data
# Function ----------------------------------------------------------------
create.html.picture.table.general <- function(DATA,
x,
y,
value.var,
filename = getwd(),
height = 150,
color.bg = "#313130",
color.line = "#b4bac4",
color.text = "#b4bac4",
font.size = "11px",
font.family = "Calibri",
text.align = "center",
nrow.per.file = "") {
DATA[, filepath2 := paste0('<a href="', get(value.var), '"><img src="', get(value.var), '" onclick="copyURI(event)" height = ', height, ' /></a>')]
form <- paste0(x, "~", y)
temp <- dcast.data.table(DATA, as.formula(form), value.var = "filepath2")
if( nrow.per.file != "") {
seqdata <- seq(1, nrow(temp), nrow.per.file)
filename <- gsub(".html$", "", filename)
tempfile <- paste0(dirname(filename), "temp.html")
for (i in seqdata) {
j <- which(seqdata == i)
print(i)
print(j)
tabhtml <- tableHTML(temp[i:(i+(nrow.per.file-1))],
rownames = FALSE) %>%
add_css_table(css = list('border', color.line)) %>%
add_css_table(css = list('text-align', text.align)) %>%
add_css_table(css = list('font-family', font.family)) %>%
add_css_table(css = list('font-size', font.size)) %>%
add_css_table(css = list('color', color.text))
write_tableHTML(tabhtml, tempfile)
temp2 <- suppressWarnings(readLines(tempfile))
temp2 <- gsub( ">", ">", temp2)
temp2 <- gsub( "<", "<", temp2)
temp2 <- c("<script> function copyURI(evt) { evt.preventDefault(); text = evt.target.getAttribute('src'); text = text.replaceAll('/', '\\\\'); navigator.clipboard.writeText(text).then(() => { console.log('Success copy'); console.log(text) }, () => { console.log('Failed copy') })}</script>", temp2)
temp2 <- c("<body bgcolor='", color.bg, "'>", temp2)
writeLines(temp2, paste0(filename,"_", nrow.per.file, "_", j, ".html"))
}
} else {
tabhtml <- tableHTML(temp,
rownames = FALSE) %>%
add_css_table(css = list('border', color.line)) %>%
add_css_table(css = list('text-align', text.align)) %>%
add_css_table(css = list('font-family', font.family)) %>%
add_css_table(css = list('font-size', font.size)) %>%
add_css_table(css = list('color', color.text))
write_tableHTML(tabhtml, filename)
temp <- suppressWarnings(readLines(filename))
temp <- gsub( ">", ">", temp)
temp <- gsub( "<", "<", temp)
temp <- c("<body bgcolor='", color.bg, "'>", temp)
temp <- c("<script> function copyURI(evt) { evt.preventDefault(); text = evt.target.getAttribute('src'); text = text.replaceAll('/', '\\\\'); navigator.clipboard.writeText(text).then(() => { console.log('Success copy'); console.log(text) }, () => { console.log('Failed copy') })}</script>", temp)
writeLines(temp, filename)
}
}
# Create grid -------------------------------------------------------------
create.html.picture.table.general(data, x = "filename", y = "what", height = 80, value.var = "path", filename = paste0(wd, "/Grid_view.html"), nrow.per.file = "")
- then use the script AHK Append_copy_text_v03, so run it
- each time you copy something to the clipboard it will add it to the last clipboard
- the html as some javascript to allow to copy to the clipboard the path of a image by clicking on it
- meaning if you run the ahk script and click on the picture you wann keep you will get in your clipboard a list of file:
Thumbnails\silueta\13.png
Thumbnails\silueta\15.png
Thumbnails\silueta\12.png
Thumbnails\u2net_human_seg\14.png
Thumbnails\silueta\16.png
Thumbnails\u2net\18.png
Thumbnails\u2net\19.png
Thumbnails\silueta\2.png
Thumbnails\silueta\20.png
Thumbnails\u2net\24.png
Thumbnails\u2net_human_seg\21.png
Thumbnails\u2net\25.png
Thumbnails\u2net\29.png
Thumbnails\u2netp\3.png
Thumbnails\u2net\30.png
Thumbnails\u2net\31.png
Thumbnails\u2net\32.png
Thumbnails\u2net\33.png
Thumbnails\u2net\34.png
Thumbnails\u2net\36.png
Thumbnails\u2net\37.png
Thumbnails\u2net\38.png
Thumbnails\u2net\39.png
Thumbnails\silueta\40.png
Thumbnails\silueta\5.png
Thumbnails\u2net_human_seg\6.png
Thumbnails\u2net_human_seg\7.png
Thumbnails\u2net\9.png
Thumbnails\u2net\th.png
- close ahk script with right click and exit
- modify this list in a txt file by replacing the
Thumbnailsby%cd%, the goal it to get the path or the original image done byrembg- from this
Thumbnails\u2net\9.pngto%cd%\u2net\9.png - add to the beginning of each line
copy /Y " - and at the end
" "%cd%\touse" - you will have then
copy /Y "%cd%\u2net\9.png" "%cd%\touse"
- from this
- create in the
rootfolder atousefolder - run the list you did with the cmd
copy, it will copy each wanted image to the foldertouse - trim all empty pixel from the pictures with
sh magick mogrify -define trim:edges=north,south -trim +repage *png - open the pictures in your editor software, Krita or Fotowall (but only for small amount of pictures, and this is not an editor)
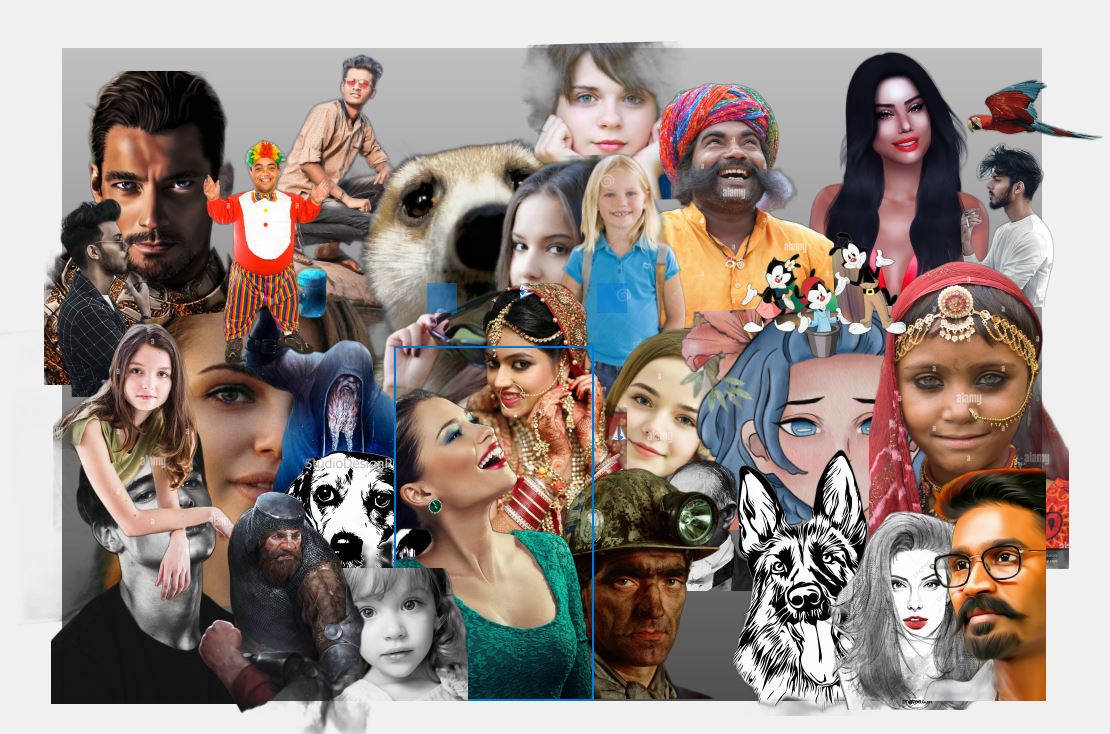
Krita
The method I used now:
- import all picture by drag and drop as many layers
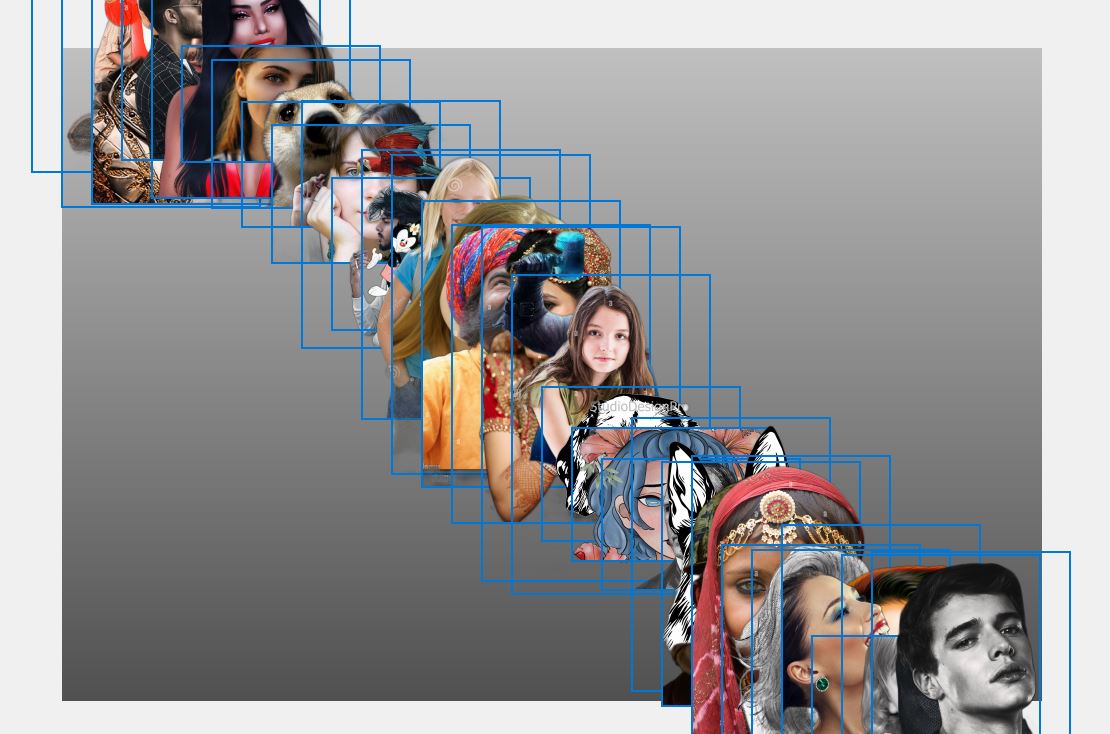
- you can select them all and with ctrl+t resize them (keep Shift press to keep aspect ratio
- use shortcut
press and click on a pixel to select automatically the layers - move it and place it how you want, Ctrl+Page up or down to change order of the layer (or paste and cut)
- you can also directly erase or modify parts of the picture, which is nice
Fotowall
This is the old method I used. This is not fitting for a lot of images …
Fotowall or use another software (Krita, or irfanview could do it I think, just a bit more confused with a lot of pictures)
- import all pictures from
touse
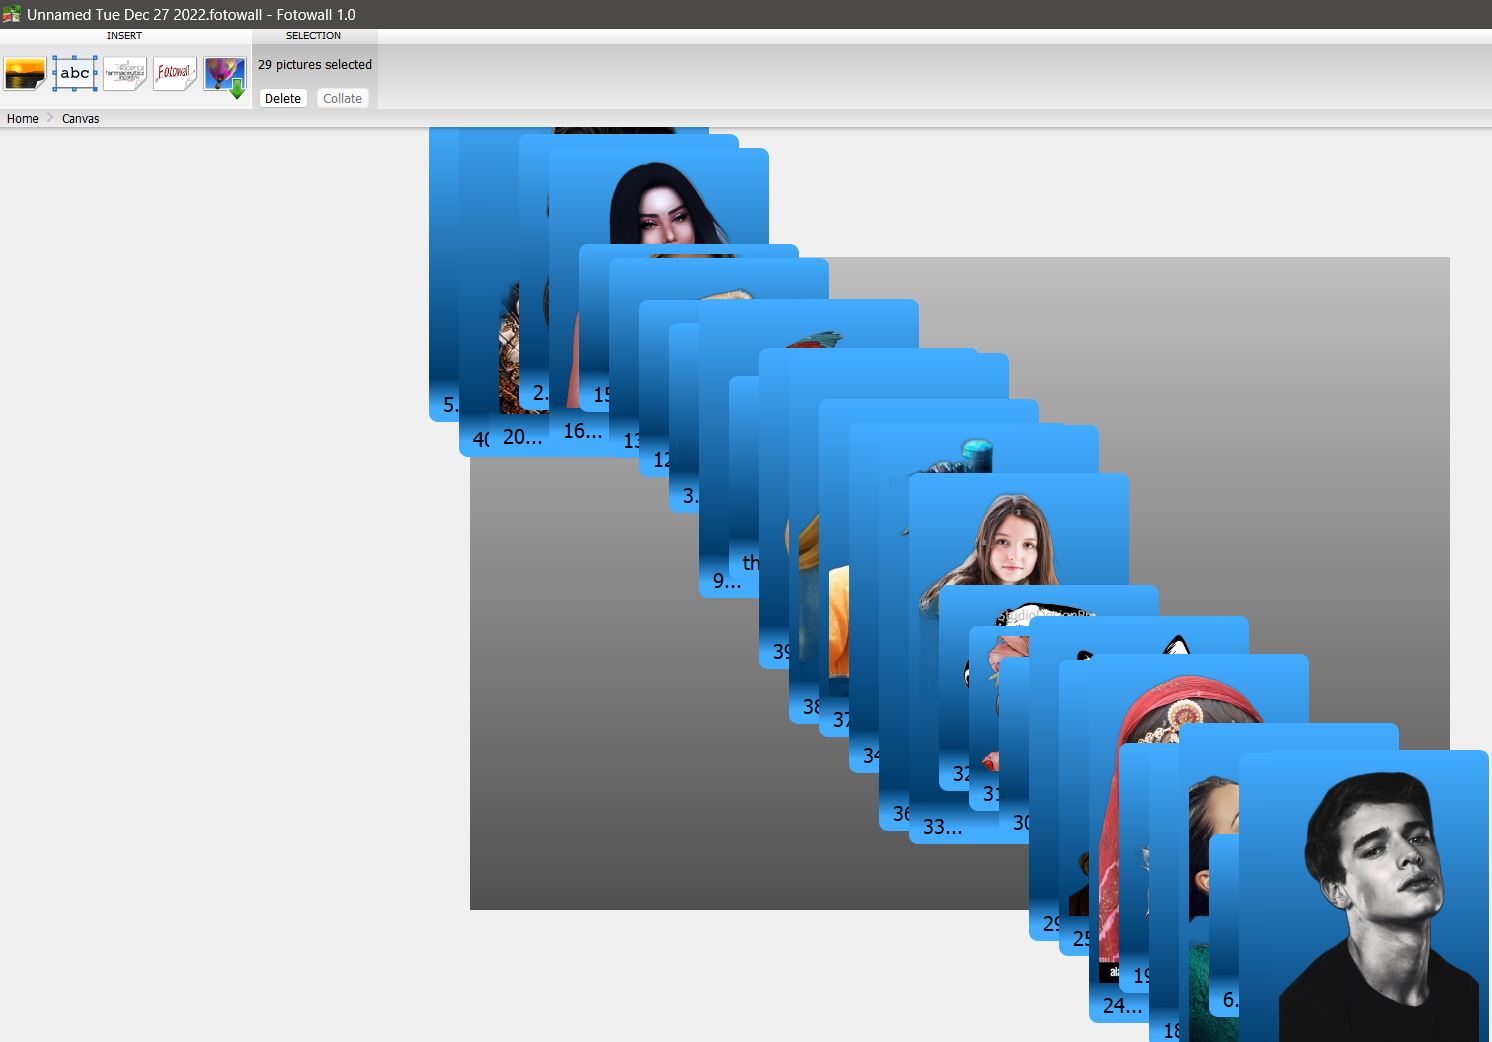
- right click on 1, keep the small windows open, select all with the left click and drag (selection rectangle), go back to the small windows and temove the background
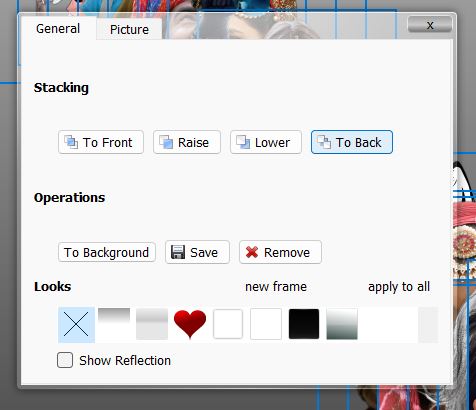
- move your file around as you want
- do not forget to save regurlarly, unfortunately this software is not stable
- export, as well unfortunately if you have too many pictures it will crash it.
